
In Italy, it has lately became a tradition, that when kids finish their kindergarten school, they are awarded with an end of kindergarten certificate, called 'diploma'. For this occasion they are dressed like university graduates. Last year even my son has received his 'diploma', so I prepared for him and his classmates, a degree’s hat made in fabric.
It’s not difficult to create and I also published some photos for a better explanation.
 |
FOR ITALIAN VERSION PLEASE CLICK HERE. |
Requirements:
- 30cm of foamfabric (fabric with a layer of thin foam already attached)
- 1.5mtr bias satin ribbon 2cm wide, same colour of fabric,
- Some cardboard same colour of fabric,
- Scissors, sewing thread and needle, sewing pins,
- Crochet thread to make a tassle,
- Sewing machine,
- Glue gun.
The measurements that I have used, are for 5 year old children with head’s circumference of about 49/51cm, but when I tried out the hat it also fitted me, cause it only has to be placed on the head. I attached some elastic, so as not to loose the hat.
Method:
 | |
| pic 1 (the circle is not in photo) |
From the foamfabric (pic 1) cut:
- two squares measuring 25cm
- a rectangle 56x16cm. (pic 1)
- a circle with diameter 16cm
 | |
| pic 1a |
From the cardboard (pic 1a) cut:
- a square measuring 24cm
- a circles with diameter 16cm.
On one of the squares on the wrong side of fabric, find the centre and draw a circle with diameter 13cm (pic 2). Cut out the circle (pic 3).
 |
| pic 2 |
 |
| pic 3 |
Close the rectangle by sewing the short ends 1cm away from border, to form a ‘crown‘ roughly measuring 54cm (pic 4)
 |
| pic 4 |
Fold the crown lengthwise, in order to have the foamy part of the textile on the inside (pic 5)
 | |
| pic 5 |
Next step to the attach the borders of the crown to the circular border we have prepared before. Place the borders of the crown and insert them inside the circle’s border and pin in place. Should the crown result a bit longer, make very little pleats to reduce the length. Sew with sewing machine and when you’re done, snip the edges (pic 6)
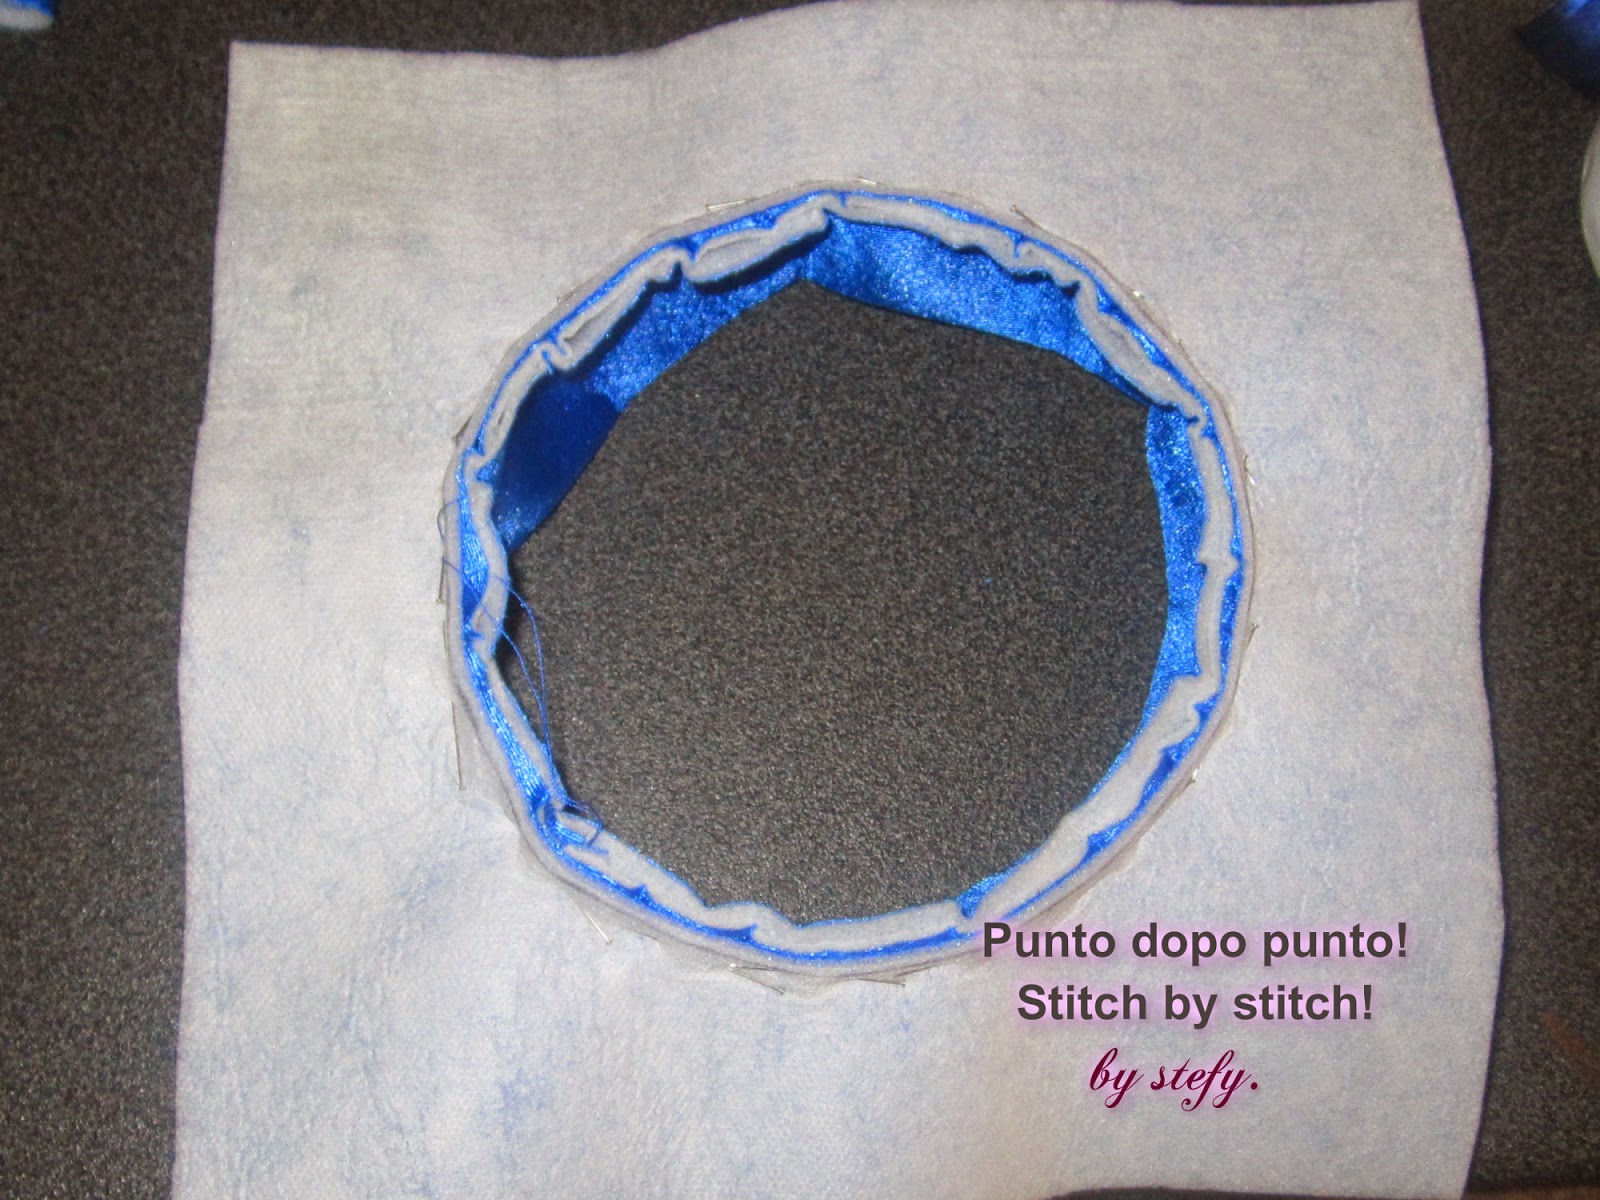 | |
| pic 6 |
Now place the other square, on the square with the crown, wrong sides together and pin in place. Apply the bias tape all around the edges, taking extra care to the corners. Sew bias type with sewing machine and then sew the corners with thread and needle, with little invisible stitches.


To obtain a rigid hat, insert the cardboard (square measuring 24cm) in the inside of the hat. The easiest way to insert it, is by folding the corners as in pic 6 and 7.
 |
| pic 6 |
 |
| pic 7 |
 |
| pic 8 |
To finish of the hat we have to attach a tassle either of the same colour or with a contrast colour.
If you wish to prepare the tassle follow my tutorial - how to make a tassle.
Sew the tassle at the centre of the hat.

Thank you and see you next time!!
POTETE LEGGERE LA VERSIONE IN ITALIANO, QUI / for italian version click here..
Stefy
Nessun commento:
Posta un commento