Visualizzazione post con etichetta sewing. Mostra tutti i post

venerdì 17 marzo 2017

How to make a Jabot.


A Jabot is a clothing accessory made of lace or other light fabric, used to decorate the front of shirts.
In the 17th and 18th century Jabots were used to decorate higher class man's shirts whilst in the 19th century they were attached by brooches to woman's clothing.

Over the years we have seen that they came back in fashion, but my personal need to sew a Jabot was to decorate my son's carnival pirate shirt.


Requirements:

  • 2 meters of ribbon lace 6cm high,
  • 25cm of fabric the same colour of the lace,
  • 50cm of elastic 1cm wide,
  • scissors, sewing thread, needle and pins,
  • a piece of paper for the pattern and a ruler,
  • sewing machine.

Method:
Jabot with 4 layers of lace.
Prepare pattern by drawing top edge 8cm wide.AB
If you use 6cm wide lace leave an allowance of 5cm for every frill, in order to slightly overlap the frills.

Bottom edge 14cm wide. CD

Join diagonal lines AC and BD.

Then draw top hem allowance 2.5cm high in order to be able to pass the elastic.  EF

Remember to leave hem allowance of 1cm on side and bottom edges.


Fold fabric right sides together, and pin paper pattern.
Cut fabric and baste sides (AC and BD) and edges (CD).
Sew with sewing machine.  As this is not a
very big project to create, you can also hand sew.
Leave the top edge open in order to enable us to turn the fabric.


.

Turn the fabric, by pulling the bottom edge toward the top edge.   Push the corners in place with a long pointed object, being careful not the damage the seam.

Pin edges smooth in place and sew the edges.


Hem the top edge, keeping in mind that we have to pass some elastic through the hem.


Now we have to prepare the lace.  Cut 4 pieces in the following sizes.  25cm, 35cm, 45cm and 55cm.
.            
                 

Hem the side edges of all four pieces of lace.
Gather to the measurement required.
Tip:   I normally use the biggest straight stitch available on the sewing machine to gather frills.  Sew a straight linea and then pull the top thread.


Pin the gathered lace in place. Of course the shortest frill goes at the top.
When you are happy with the result, baste in place to have a neater finishing and finally sew either by machine or by hand the frills in place.


Pass some elastic between the top hem.


Punto dopo punto! by Stefy.

Come fare un Jabot
martedì 23 dicembre 2014

Tutorial: How to make a tassle.

per la versione in italiano, cliccate qui


A tassle is a decoration made from thread or wool.  Mostly tassles are used to decorate soft-furnishing like curtains, cushions etc and are also used on clothes, jewellery, hats and hoods.

We can create different sizes of tassles by using different thickness of thread or wool. 

I had to sew some degree hats with a tassle on the top (tutorial - how to sew a degree's hat),  and to save some money I decided to create my own tassles and luckily I also found in my work box, the exact colour of embroidery thread I needed.


Requirements:
  • embroidery thread or wool  (the thicker the thread, the thicker the tassle),
  • a piece of cardboard 6cm wide. The length has to be the same as your tassle's finished length.
  • scissors

Method:

Knot the thread around the cardboard's length.  Now you have to wrap the thread on the cardboard several times, until you reach the volume required.
My thread was not very thick and I wrapped it 50 times around the cardboard, even because I didn't desire a thick tassle.


When you reach the desired volume, cut the thread.  Leave the thread on the cardboard.


Now,  we have to form a cord from the same thread we are using. I created a plaided cord with 18 theads.  If  your thread is thicker or you are using wool,  reduce the threads to 12 or 6 (the number of threads you use, has to be divided in three parts, because we need three bunches of thread to form a plaid).

The length of the threads to form the plaid has to be 3 times the finished plaid.  For example:  if we need a plaid 6cm long, we have to cut the threads 18cm long.
Place these threads under the wrapped thread on the cardboard.  Pull until you reach two equal lengths and make a knot.


Separate the threads in three bunches and make a plaid.  When you reach the desired length, knot the thread to stop the plaid from opening.


Now you can take out the thread from the cardboard. Cut the edges at the lower part of the tassle, exactly at the centre.


The last step is to wrap the thread several times 1cm / 1,5cm under the top of the tassle.  Wrap the thread until you reach the desired thickness and length.   Knot the thread and cut the ends to the same length of the tassle.


And you tassle is ready to be hanged.

Visitate la versione in italiano: tutorial - come fare una nappa.

  Stefy.

lunedì 22 dicembre 2014

Tutorial - how to sew a degree's hat.


In Italy, it has lately became a tradition, that when kids finish their kindergarten school, they are awarded with an end of kindergarten certificate, called 'diploma'. For this occasion they are dressed like university graduates. Last year even my son has received his 'diploma', so I prepared for him and his classmates, a degree’s hat made in fabric.


It’s not difficult to create and I also published some photos for a better explanation.

FOR ITALIAN VERSION PLEASE CLICK HERE.


Requirements:

  • 30cm of foamfabric (fabric with a layer of thin foam already attached)
  • 1.5mtr bias satin ribbon 2cm wide, same colour of fabric,
  • Some cardboard same colour of fabric,
  • Scissors, sewing thread and needle, sewing pins,
  • Crochet thread to make a tassle,
  • Sewing machine,
  • Glue gun.


The measurements that I have used, are for 5 year old children with head’s circumference of about 49/51cm, but when I tried out the hat it also fitted me, cause it only has to be placed on the head.  I attached some elastic, so as not to loose the hat.


Method:

pic 1 (the circle is not in photo)

From the foamfabric (pic 1) cut:
  • two squares measuring 25cm
  • a rectangle 56x16cm. (pic 1)
  • a circle with diameter 16cm


pic 1a


From the cardboard (pic 1a) cut:
  • a square measuring 24cm
  • a circles with diameter 16cm.


On one of the squares on the wrong side of fabric, find the centre and draw a circle with diameter 13cm (pic 2).     Cut out the circle (pic 3).

pic 2

pic 3


Close the rectangle by sewing the short ends 1cm away from border, to form a ‘crown‘ roughly measuring 54cm (pic 4)

pic 4

Fold the crown lengthwise, in order to have the foamy part of the textile on the inside (pic 5)
pic 5

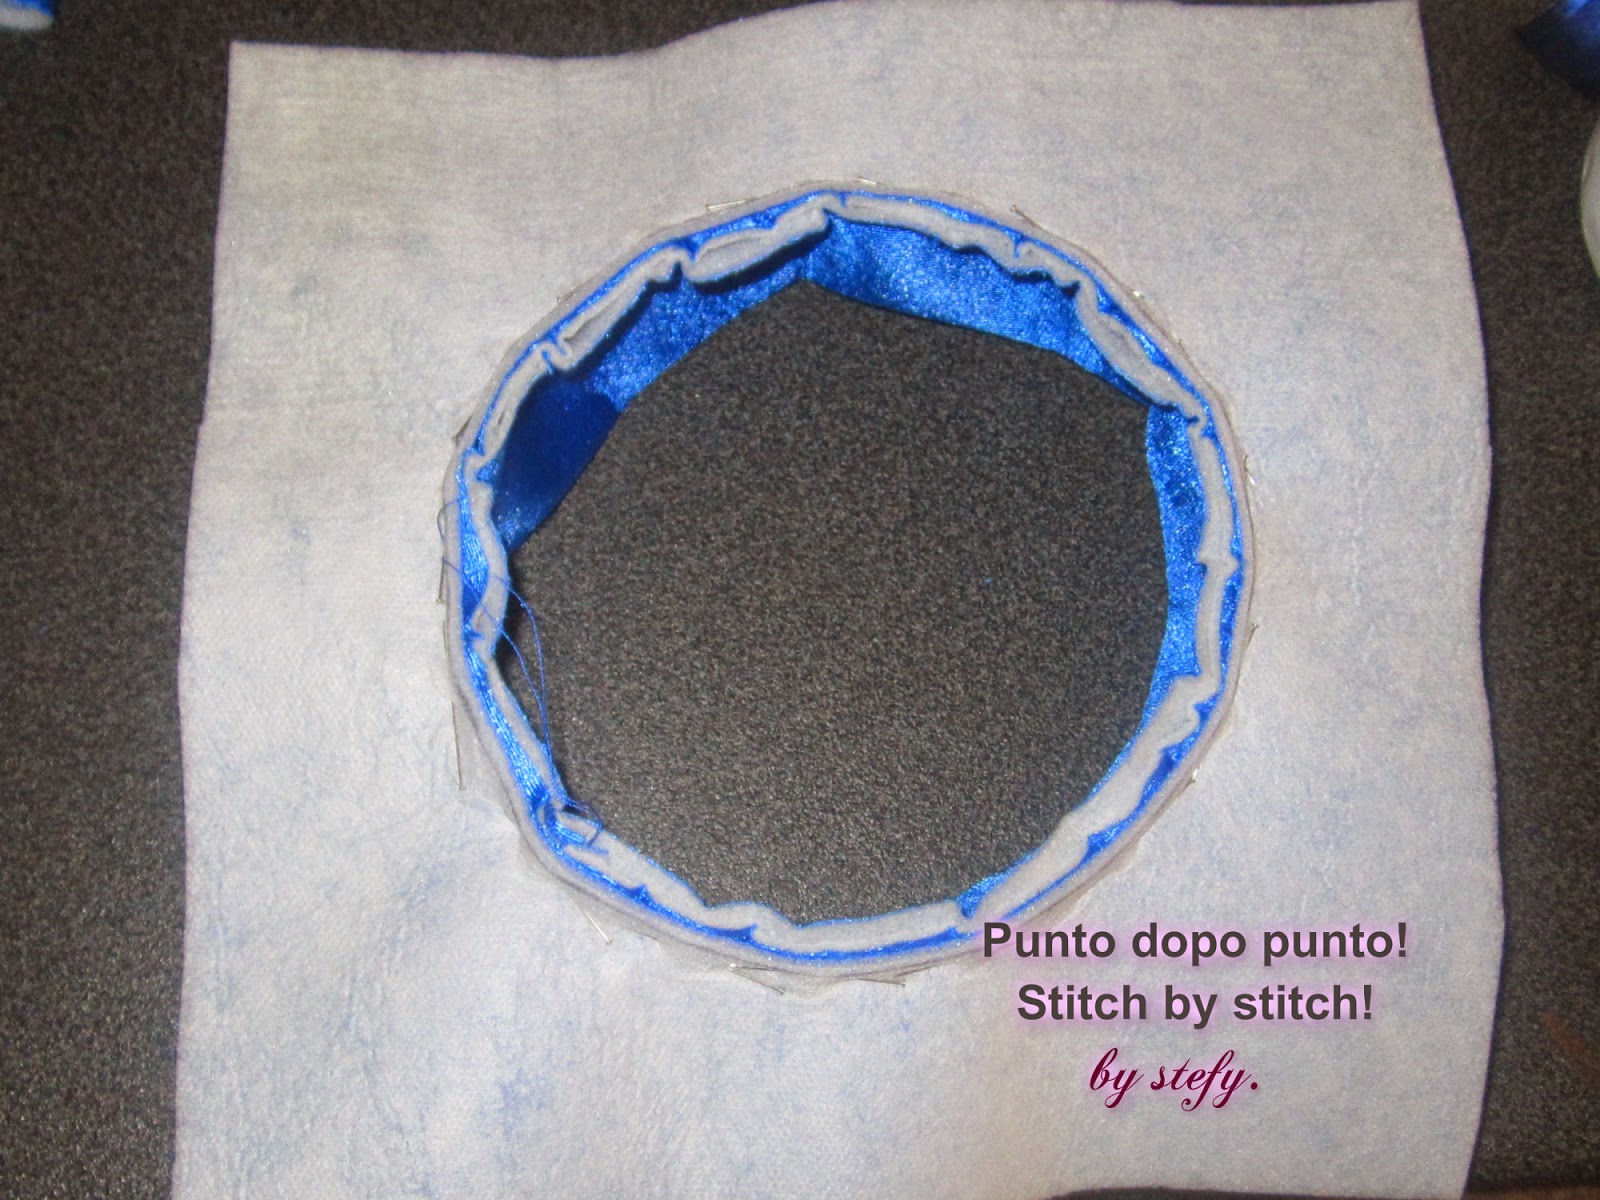
Next step to the attach the borders of the crown to the circular border we have prepared before.  Place the borders of the crown and insert them inside the circle’s border and pin in place.  Should the crown result a bit longer, make very little pleats to reduce the length.  Sew with sewing machine and when you’re done, snip the edges (pic 6)
 

pic 6

Now place the other square, on the square with the crown, wrong sides together and pin in place. Apply the bias tape all around the edges
,  taking extra care to the corners.  Sew bias type with sewing machine and then sew the corners with thread and needle, with little invisible stitches.

  
To obtain a rigid hat, insert the cardboard (square measuring 24cm) in the inside of the hat.  The easiest way to insert it, is by folding the corners as in pic 6 and 7.
pic 6


pic 7


Glue together the circles from foamfabric (foam on the inside) to the cardboard.  Glue to the inside of the crown, to have a neat finish.  When I prepared the hats,  I had a very tight deadline,  so I only glued the cardboard to the hat  (pic 8).
pic 8

To finish of the hat we have to attach a tassle either of the same colour or with a contrast colour.


If you wish to prepare the tassle follow my tutorial - how to make a tassle

Sew the tassle at the centre of the hat.


Thank you and see you next time!!

POTETE LEGGERE LA VERSIONE IN ITALIANO, QUI / for italian version click here..

Stefy